- REVIEWS
Camera Reviews 
More Reviews Mobile Reviews Photography Reviews - GALLERIES
- VIDEOS
- BUYER'S GUIDES
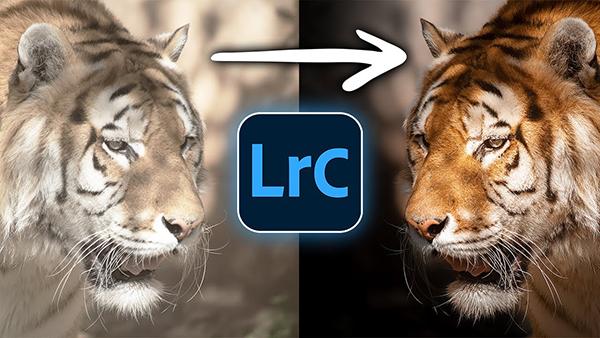
How This Pro Edits Wildlife Photos in Lightroom (VIDEO)
Yesterday we featured a beginners guide to wildlife photography, with basic tips on gear, camera settings, composition, and other shooting techniques. We're following that up today with a demonstration by one of our favorite pros, explaining the way he edits wildlife images in Lightroom.
Keep in mind that the techniques you'll learn work equally well for images shot on safari as they do for photos captured at a wildlife park or a zoo, which is where today's demonstration image was made. You can download the sample Raw file using a link beneath the video, and follow along as the straightforward steps are explained.
Instructor Christian Mohrle steps out of his comfort zone in this episode, because he's known for being one of the best landscape photographers in Germany. You'll almost never find him at a zoo because he says, "I want to make clear that I'm against these kind of attraction." For many of us, however, a visit to the local zoo is the only opportunity available for viewing and photographing exotic animals.
Mohrle's typical approach to post processing is to begin with a few standard adjustments to prepare a solid base image for the selective enhancements that follow. The image is too bright for his taste so he starts by slightly bringing down the Exposure and dropping Highlights to bring out more detail in the tiger's fur. He also adds contrast and "punch" to the shot by dropping both Highlights and Blacks.
Other preliminary enhancements require modifying White Balance for a warmer effect, bumping up Clarity, Texture, and Dehaze, while carefully reducing Vibrance. The image is now improved as much as possible with global adjustments that affect the shot as a whole.
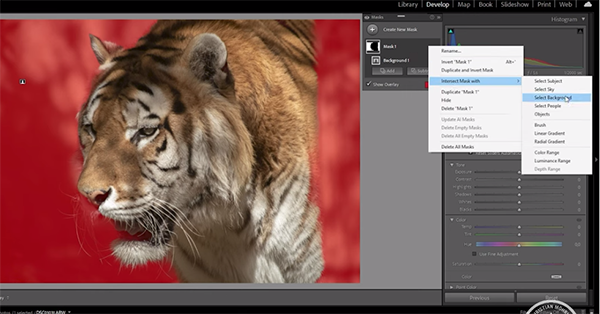
Now it's time for selective enhancements that transform the hum-hum photo into a compelling money shot, and masking is the next step in the process, with the first goal being to separate Mohrle's subject from a background that contains similar tones. To do this he creates and refines a Background Mask that doesn't include the tiger. This enables him to darken the background—thereby drawing attention to the key element within the frame.
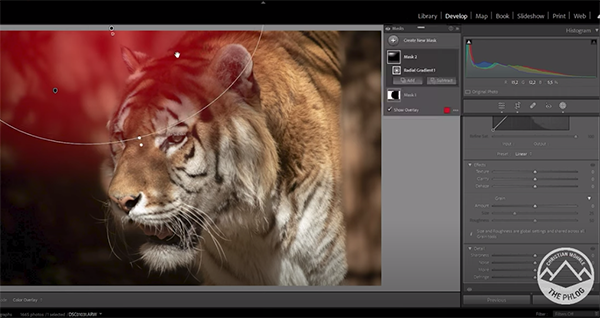
He improves the effect further with a bit of background blur, and by dropping Clarity and Texture within the selection. A Radial Gradient in the top left corner of the frame helps reduce brightness in this area and creates even more separation.
The final steps in the amazing transformation involves straightforward color grading, the use of AI Denoise, and selective sharpening that make the tiger really stand out. You can find more helpful lessons like this one by checking out Mohrle's robust instructional YouTube channel.
We also suggest watching the related tutorial mentioned above with a bunch of great shooting advice for beginning wildlife photographers.
- Log in or register to post comments


![]()
Get the Latest Photo Tips, News & Reviews from Shutterbug!
| Camera Reviews Other Reviews | Mobile Reviews Photography Reviews Columns | News | Features | How-To | Resources |
 © 2024 Shutterbug
AVTech Media Americas Inc., USA
All rights reserved