- REVIEWS
Camera Reviews 
More Reviews Mobile Reviews Photography Reviews - GALLERIES
- VIDEOS
- BUYER'S GUIDES
Create REALISTIC Depth of Field with This 2-Minute Photo-Editing Trick (VIDEO)

Understanding how to capture depth of field is essential when shooting landscapes, wildlife images, and other types of outdoor imagery. It's not difficult to get things right in the camera by strategically manipulating Aperture and ISO settings, and camera-to-subject distance also factors into the equation Aperture.
But what if you already made a shot that your really like and want to create selective depth of field during to post processing? That's what you'll lear how to do in the quick tutorial below. The idea is a draw attention to the key aspect of a scent by deemphasizing other areas in the background, foreground or both.
Photographer and image-editing expert Gary McIntyre posts weekly shooting and processing tutorials for amateurs who want to expand their skills, and this episode all about what he calls "fake" depth of field by employing Photoshop's Depth Map tools. This method is so easy to do and it takes barely two minutes to explain.

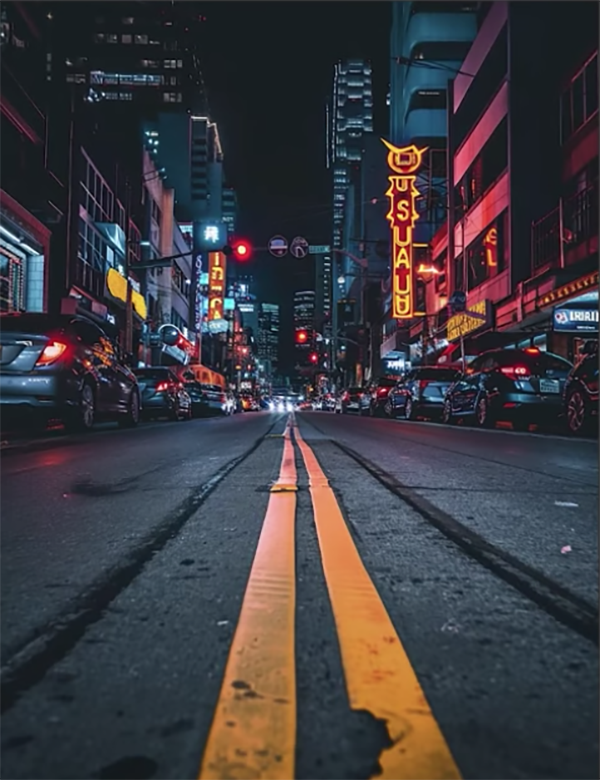
Whether you want to call this method "fake"—or just intelligent editing—is up to you, but the process is worth-mastering and adding to your Photoshop bag of tricks. McIntyre's sample image is a properly exposed, nicely framed, and well-composed cityscape image shot after dark that's dramatically transformed as you follow the simple steps.
So there you go: Open Photoshop, create a layer, and open the Neural Filters tab. Then select the Depth Blur option which requires a quick download using the instructions that McIntyre provides. The next step is resetting everything to 0, 'because what we want to use is the Output Depth Map only."
At this point the Depth Map appears on the screen and you'll want to give it a name to differentiate it from other layers. Now select RGB and return to Layer One, click on Filter again and choose Lens Blur that's now activated. Believe it or not, you're almost done.
Once in the Lens Blur module you can modify a variety of characteristics. McIntyre recommends beginning with Most Accurate and Photoshop instantly recognizes the Depth Map. You'll learn how to choose from a number of shapes for the bokeh effect, including Octagon, Hexagon Triangular and others, depending upon the specific image at hand.
Now it's time to use a few sliders to refine the effect, and McIntyre reveals the specific values he recommends for Specular Highlights, Depth of Field, and other helpful options. Then by clicking anywhere on the image you can determine where and how you want the so-called fake depth of field to appear.
Once you see exactly what you want, click OK, and the super easy and very effective transformation is complete. Then head over to McIntyre's popular YouTube channel where you'll find more straightforward image-editing tips and tricks.
We also suggest watching the tutorial we posted with another post-processing expert who demonstrates his method for achieving beautiful colors in dull outdoor photographs.
- Log in or register to post comments


![]()
Get the Latest Photo Tips, News & Reviews from Shutterbug!
| Camera Reviews Other Reviews | Mobile Reviews Photography Reviews Columns | News | Features | How-To | Resources |
 © 2025 Shutterbug
AVTech Media Americas Inc., USA
All rights reserved