- REVIEWS
Camera Reviews 
More Reviews Mobile Reviews Photography Reviews - GALLERIES
- VIDEOS
- BUYER'S GUIDES
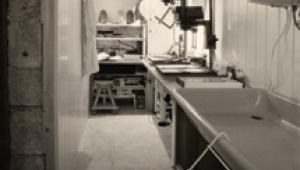
The Darkroom
Using The Ilford EM-10 Density Meter
I love gadgets. In fact,
if it has blinking lights, beeping noises or a flashing LCD display,
I usually can't live without it. Years ago when I was working
with a dichroic enlarger I discovered the joys of the EM-10, and I haven't
been without one since. If you use a continuous-light enlarger, then
you need one, too. |
|
I use my EM-10 for black and
white as well as color printing. The program numbers (shown right) that
I've written on the bottom of it are for use with Kodak's
PolyMax paper. They are the settings used for each particular tone value
that I want to measure. Just place the dial at the "program number";
place the sensor in the correct area of the projected image and slowly
rotate the f/stop ring until the green light comes on. How could anything
be easier? It saves tons of trial and error testing. |


![]()
Get the Latest Photo Tips, News & Reviews from Shutterbug!
| Camera Reviews Other Reviews | Mobile Reviews Photography Reviews Columns | News | Features | How-To | Resources |
 © 2026 Shutterbug
AVTech Media Americas Inc., USA
All rights reserved