- REVIEWS
Camera Reviews 
More Reviews Mobile Reviews Photography Reviews - GALLERIES
- VIDEOS
- BUYER'S GUIDES
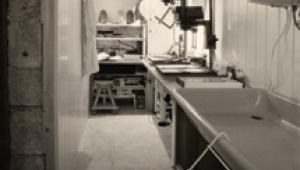
The Darkroom
Making Color Prints In Open Trays
| Usually when you are traveling,
you can't take your entire darkroom with you. However, you still
might want to make a few, quick, color prints while you're away
from home. All you need to make great color prints from color negatives
is a simple black and white enlarger, some filters, three trays, and
some of the special color chemicals known as "ambient temperature"
RA-4 chemicals. There's no tight temperature control required.
There's no critical timing required. You can use anybody's
RA-4 color printing paper. And, the chemicals will keep for months--even
after it has been mixed and partly used. Manufacturers/Distributors Calumet Photographic Products Charles Beseler Co. Eastman Kodak Jobo Fototechnic, Inc. |


![]()
Get the Latest Photo Tips, News & Reviews from Shutterbug!
| Camera Reviews Other Reviews | Mobile Reviews Photography Reviews Columns | News | Features | How-To | Resources |
 © 2026 Shutterbug
AVTech Media Americas Inc., USA
All rights reserved