- REVIEWS
Camera Reviews 
More Reviews Mobile Reviews Photography Reviews - GALLERIES
- VIDEOS
- BUYER'S GUIDES
How To Photograph Camera Gear for Online Auctions

Here are 10 tips to follow before you dial up ebay. And BTW — most of these apply to food photography, too, if you Instagram your meals. This story is smartphone compatible.
How often do you find a listing on ebay that sounds attractive — until you look at the images? It's amazing that so many sellers are careless when posting their wares. It doesn't take much time or effort to present your equipment in the best light (pun intended).
There Are Alternatives to Auctions
Clearly, you're a taking a risk when you deal with a stranger using an auction website as the intermediary. Historically, these sites tend to side with the buyer, not the seller, when there's a dispute. But you're lucky, so that disgusting mess (e.g., withheld payments) will never happen to you. No?
More nerve-wracking, when you list your possessions at an online auction site, you do not know how much your property will sell for. You can set a Reserve, of course, a bottom limit, but the Reserve strategy can discourage bidding, I believe.
Instead, you can get an immediate online quote from a reputable company that specializes in buying and reselling used photo gear. They're great places to trade in the stuff you're tired of toward other equipment, or purchase a secondhand gem outright. If you're like me, the only surprises you like are good ones; these merchants tell you the numbers upfront.
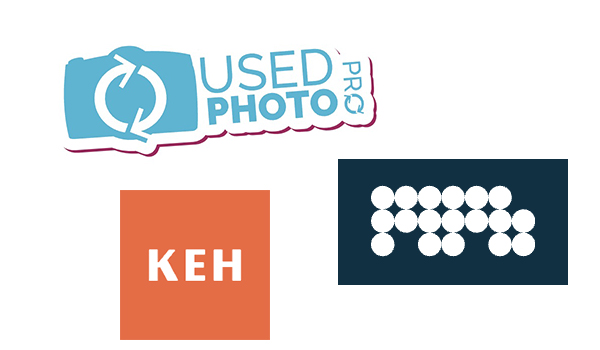
Based on my personal experience, these three companies are trustworthy and customer-centric. All offer immediate online quotations. All have easy, sensible condition grading systems. All offer FREE inbound shipping. And all have earned my loyalty.
In alphabetical order:
— KEH (Atlanta, GA)
— MPB (global presence, with offices in Brooklyn, Berlin and Brighton, UK)
— UsedPhotoPro (Indianapolis, IN)
Higher Payoffs are Possible from Auctions, Risks be Damned
One thousand words do not reveal what one photo can. Follow these tips to maximize your potential return.
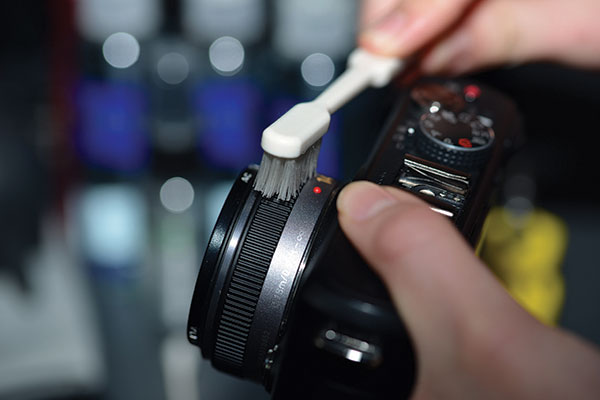
Clean & Pristine
Common sense, but often unheeded for some unknown reason: clean cameras and lenses are easier to sell and tend to fetch higher prices.
Use a clean toothbrush to remove all the grim and dust that accumulates around shutter dials, buttons and knobs. Use a fresh microfiber cloth to give the equipment a thorough wipe down. Confirm that there are zero fingerprints. Do NOT clean the sensor.
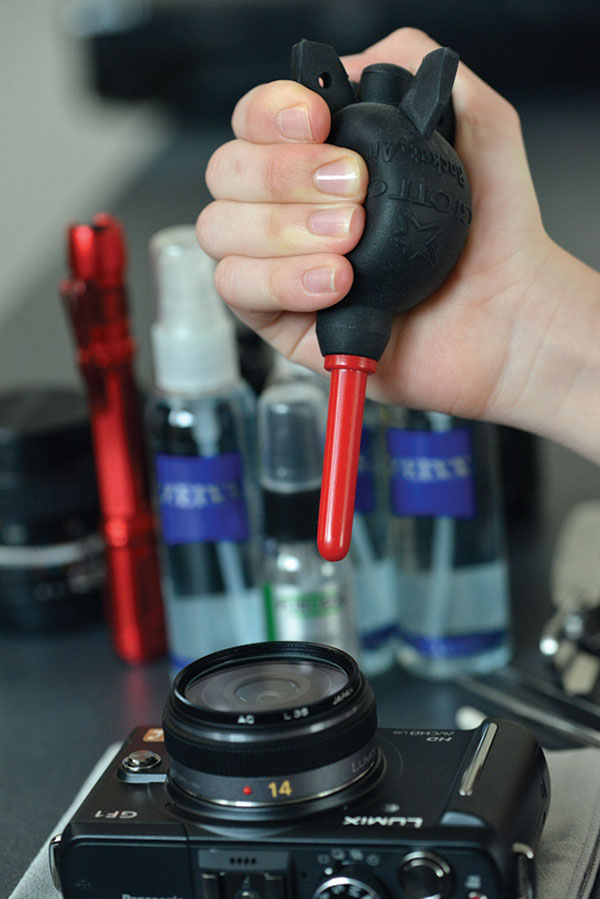
To clean the glass surfaces of a lens, use a camel hair brush or a couple puffs of air from a bulb syringe. Do NOT use compressed air. If the lens is especially grubby, find help from this Shutterbug resource: How I Clean a Camera Lens and What I Use.

Subject Background
Neutral solid colors always work, but you can attract more attention by using an interesting pattern in the opening shot. If you plan to list several items, or if you list frequently, consider using the same setup consistently to brand your listings.
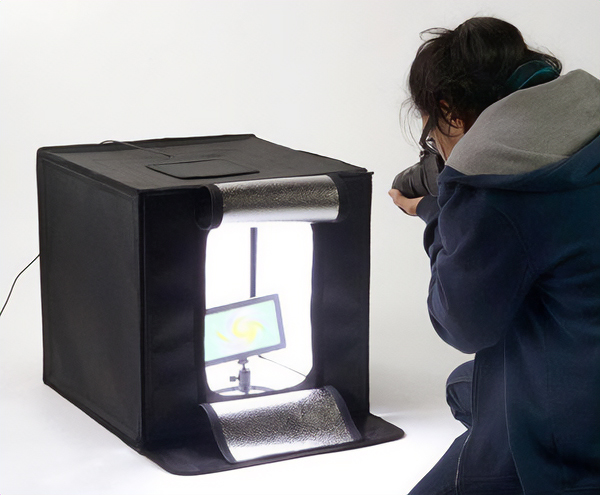
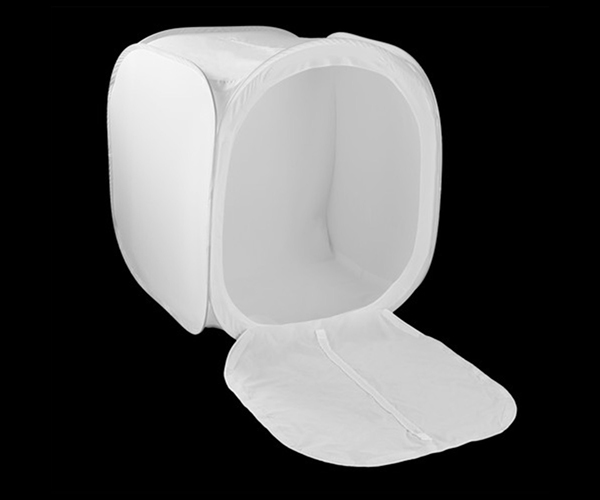
Lighting
For the very best, top-level results, use a Fotodiox Studio-in-a-box or similar product to control not only the lighting but also the background color. The next best choice is a light tent, something along the lines of the Impact Digital Light Shed (B&H Photo, $69.95). The Fotodiox product has built-in lighting, a huge advantage that justifies the higher price.
If you don't want to invest in a popup studio, find an open space that has plenty of natural light, a living room coffee table for instance. Drape a large over an object that's big enough to provide an adequate background. Position the product near the back. Plan to work when shadows are minimal. If you feel compelled to photograph your gear outdoors, wait for an overcast day. Adjust White Balance accordingly. Speaking of which…
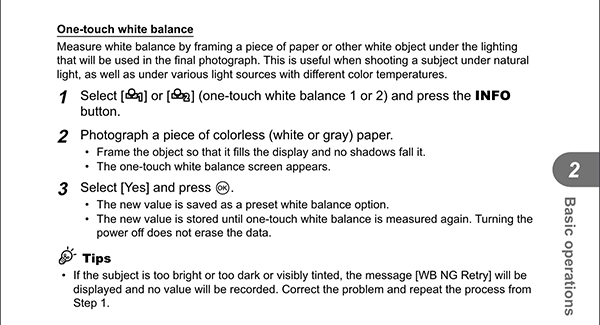
Correct White Balance is Critical
Spend 10 minutes reading your camera's Owner's Manual to learn how use Custom White Balance settings. Use an authentic 18% gray card or sheet of white paper as the target. Adding this essential technique to your everyday toolbox can improve nearly all of your images, not just the tabletop stuff.
Photograph Included Accessories
Cases, straps, lens caps — whatever is included in the sale — should be photographed in a group or individually. This step eliminates confusion on the buyer's part and helps you document the transaction should a dispute arise later.
Include Example Photos if Relevant
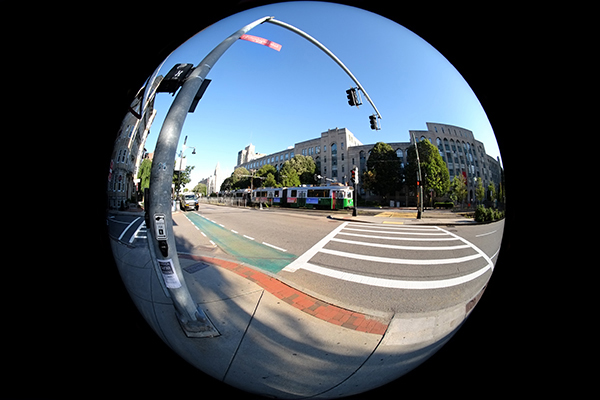
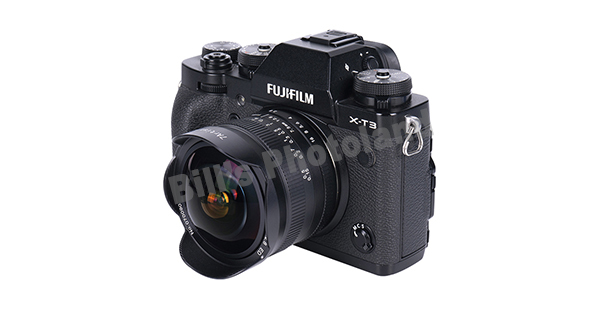
If the product you're selling has a unique feature set: a macro lens, fisheye lens or camera that's been converted for Infrared-only use for example, include a few example images.
Add Your Watermark
Note that watermarks can turn off some buyers. Use at your own risk.
If you’re handy with Photoshop or other image editing software, you can add an unmistakable watermark to the images you post. Takes only a few minutes and it prevents unscrupulous sellers from stealing your images for their listings. Set Opacity to around 40% to avoid obscuring product details.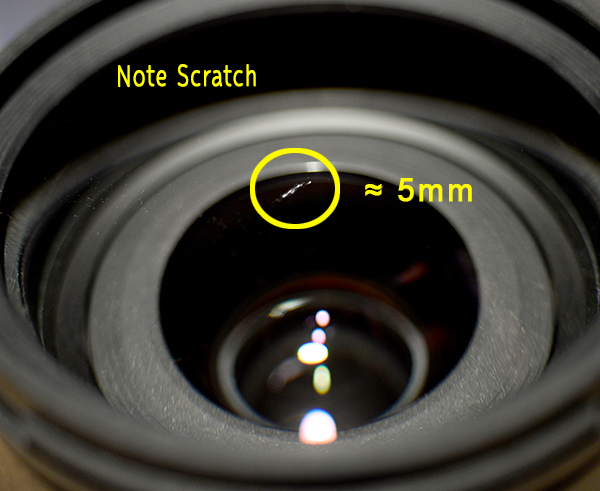 Zero In on Flaws
Product has a scratch, dent or other cosmetic defect? Point it out. Don't assume buyers notice flaws in the product images.
As Is? Show LCD Working
If you list a functioning digital camera in "as is" condition, be sure to include at least one shot of the LCD on so that potential buyers know that the camera at least lights up. If there are other defects, point them out. When you list a 35mm film camera, it's a good practice to post a photo of the camera with the back open to reveal the condition of the shutter and light seals.
Avoid Stock Photos
Do not use stock images. Even if the item is in absolutely like-new condition, stock images smack of deception.
Become a Member of the Shutterbug Community
Register for a free account. Sign up for our newsletter. Spend five minutes (or less) uploading your best shots once every week or so. Potentially become a Shutterbug Photo of the Day winner. Enjoy viewing the fantastic work being done by thousands of photographers all over the world—and add your images to the enduring collection.
—Jon Sienkiewicz
- Log in or register to post comments


![]()
Get the Latest Photo Tips, News & Reviews from Shutterbug!
| Camera Reviews Other Reviews | Mobile Reviews Photography Reviews Columns | News | Features | How-To | Resources |
 © 2024 Shutterbug
AVTech Media Americas Inc., USA
All rights reserved